StableFPS overview
The StableFPS driver provides stable frame rates to Milestone products by loading different recordings from the hard drive. Available codecs, resolutions and compressions depend on what frames have been extracted and put in a specific location on the disk.
Install StableFPS on recording servers
- Go to Download software.
- In the MIP SDK (Docs and tools) list, select Milestone StableFPS {version} Installer to download the StableFPS installer.
- Run the StableFPS installer on each recording server where you want to use StableFPS cameras.
When the installation has successfully completed, you will find StableFPS files at%ProgramFiles%\Milestone\MIPSDK\Tools\StableFPS\ - Stop the Recording Server service.
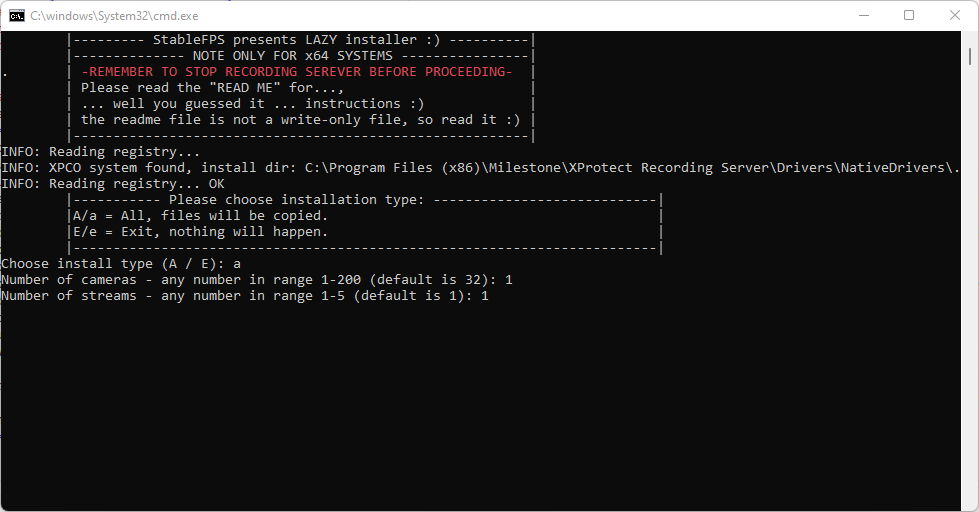
- Run
%ProgramFiles%\Milestone\MIPSDK\Tools\StableFPS\InstallStableFPS_EXTERNAL.batas Administrator. - Answer the prompts. Number of cameras running in one hardware device on same settings, and number of streams for each camera.
- Start the Recording Server service.
Now you can add simulated test cameras:
- In Management Client, find the recording server and run the Add Hardware wizard
- Select Manual mode
- Username and password is not used for StableFPS, no entry is required
- Clear all driver selections and select Milestone > StableFPS driver.
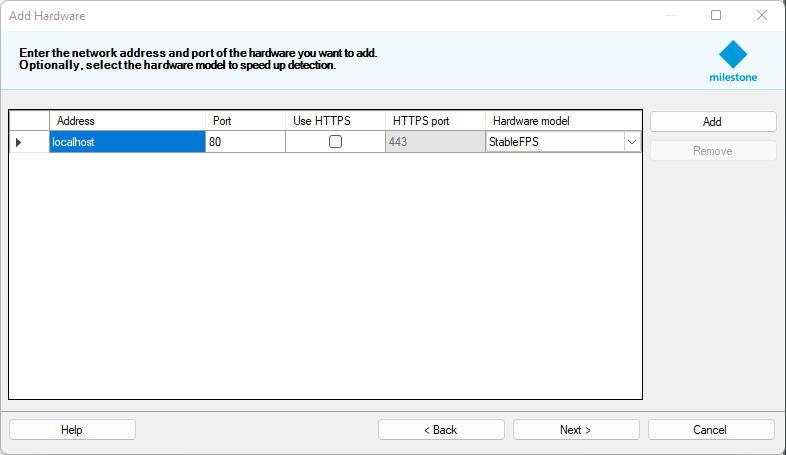
- In Address enter
localhostor the recording server IP. - In Hardware model pick StableFPS (Auto-detect won't work).
- Complete the wizard as usually for adding cameras.
StableFPS options
The driver will ensure the video, audio (in/out), and metadata streams provided is delivered on the specified frame rate.
- Video – you can choose a codec and a file to stream video to your system.
- Audio (IN) – you can choose a codec and a file to stream audio to your system.
- Audio (OUT) – you use “Talk” button in SC to emulate sending data to a device, the data can be viewed if DataOutputPath is setup correctly.
- Metadata – you can see bounding boxes predefined stream in Smart Client. You can make your own metadata and play that back.
- Input – you have one input pr hardware that you can setup Input events on and trigger them according to the specified interval.
- Output – you can trigger output that will write data of the action to DataOutputPath.
- EdgeVideo – you can emulate an edge retrieval operation on all supported codecs.
See ReadMe StableFPS (PDF) and How to make your own StableFPS stream (PDF) for information on how to work with StableFPS.